It Is Simpler Than Most People Expect
One of the most common reasons South Africans avoid applying for a loan — even when they genuinely need one — is the assumption that the process is complicated, slow, or requires a pile of paperwork and three trips to a branch.
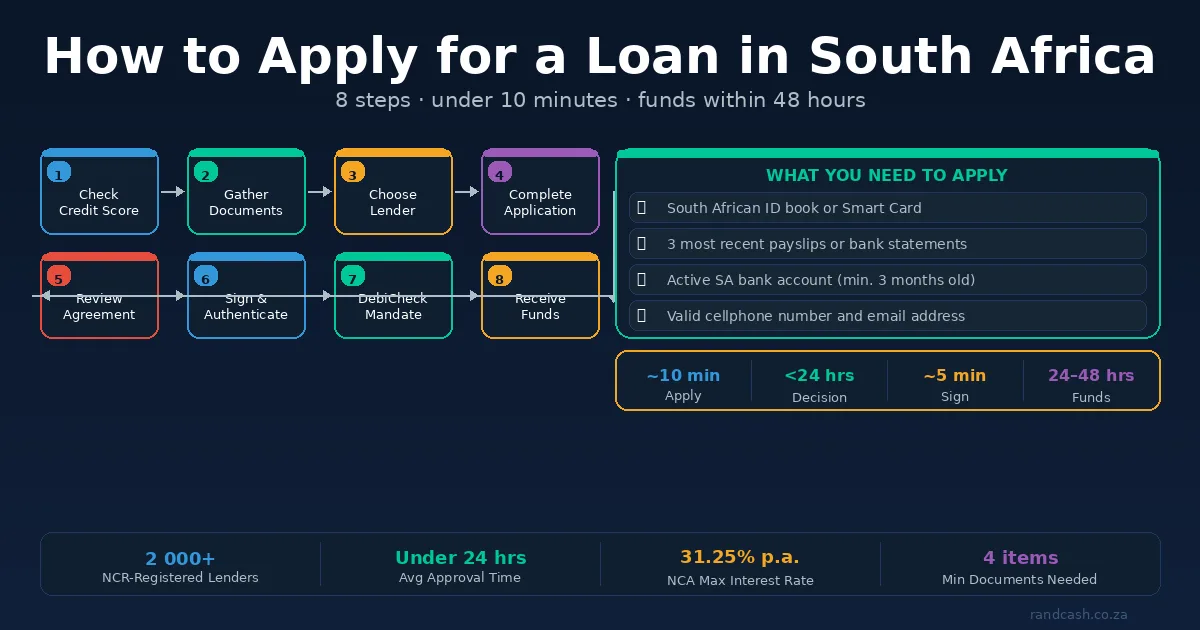
For most personal loans in 2026, that assumption is outdated. The majority of registered lenders in South Africa now offer fully digital applications that take under 10 minutes to complete and can disburse funds within 24 to 48 hours of approval. You do not need an appointment, a suit, or a printer.
This guide walks you through the entire process — from checking whether you are likely to qualify, to the moment the money arrives in your account.
Step 1: Know What You Need Before You Start
Before you open a single application form, gather the following. Having these ready will cut your application time in half and prevent you from getting stuck halfway through.
South African ID document — your green barcoded ID book or smart ID card. Foreign nationals may apply with a valid passport and work permit, depending on the lender.
Proof of income — your three most recent payslips if you are salaried, or three months of bank statements if you are self-employed or earn variable income. Some lenders accept bank statements in place of payslips either way.
A bank account in your name — most lenders require a South African bank account that has been active for at least three months. This is where your funds will be deposited and where the debit order will be collected from.
Contact details — a valid cellphone number and email address. You will receive OTPs, application updates, and your loan agreement documents through these.
That is it for most personal loans. No surety, no collateral, no letter from your employer — unless you are applying for a secured loan or a large home loan, which have additional requirements.
Step 2: Check Your Credit Score First
You are not required to check your credit score before applying — but it is worth two minutes of your time. Knowing your score helps you:
- Understand which lenders are likely to approve you and at what rate
- Avoid unnecessary applications that generate hard enquiries on your credit report
- Spot any errors on your credit record before a lender sees them
You can check your credit score for free through TransUnion, Experian, or Compuscan — each bureau is required to provide one free report per year. Several free platforms like ClearScore also show your score in real time at no cost.
As a rough guide: a score above 670 will get you approved at competitive rates by most lenders. Between 580 and 670, you will likely qualify but may pay a higher rate. Below 580, your options narrow — but do not assume you will be declined without checking.
Step 3: Decide How Much You Actually Need
Lenders will often offer you more than you ask for. A common tactic is to show you a higher pre-approved amount on their platform and make it very easy to increase your loan with one click.
Before you apply, decide on your number independently. Work out:
- The exact amount you need for the purpose you have in mind
- The monthly repayment you can comfortably afford — a number that does not require you to skip other bills
- The shortest repayment term at which that monthly payment is manageable (shorter term = less total interest paid)
Use a loan calculator — most lender websites have one — to model different amounts and terms before you commit. The total cost of credit figure is what matters, not just the monthly instalment.
Step 4: Choose the Right Lender
Not all lenders are the same, and the right one depends on your situation. Here is a quick breakdown:
Banks — Capitec, FNB, Nedbank, Standard Bank, and ABSA all offer personal loans. If you already bank with one of them, your application is often pre-populated and faster. Rates are typically competitive for customers with good credit histories.
Specialist lenders — African Bank and Old Mutual Finance focus specifically on personal loans and often have more flexible criteria than the big banks. African Bank in particular has a strong track record with applicants who have had credit difficulties in the past.
Micro-lenders and short-term lenders — for smaller amounts (R500 to R8,000) needed urgently, lenders like Wonga or Boodle offer faster approvals with fewer requirements. The trade-off is higher interest rates. Only use these for genuinely short-term needs where you are certain you can repay quickly.
Whatever lender you choose: confirm their NCR registration before applying. Every legitimate South African credit provider must be registered with the NCR. You can verify at ncr.org.za in under a minute.
Step 5: Complete the Online Application
Most lenders follow the same basic application flow:
Personal details — your full name, ID number, date of birth, and contact information. This is used to pull your credit profile from the credit bureaus.
Employment and income — your employer's name, your employment type (permanent, contract, self-employed), your gross monthly income, and your net take-home pay. Be accurate here. Lenders verify this against your payslips and bank statements, and inflating your income to improve approval chances constitutes fraud.
Monthly expenses — rent or bond repayment, existing loan repayments, and a rough estimate of living costs. The lender uses this to complete the affordability assessment required by the NCA.
Loan amount and term — how much you want and over how many months. This is where you input the number you calculated in Step 3, not the maximum the platform suggests.
Document uploads — you will be asked to upload or photo-capture your ID, payslips, and bank statements. Most mobile applications allow you to photograph these with your phone camera directly in the app. Clear, well-lit photos are sufficient — you do not need to scan anything.
Review everything before you submit. Once submitted, the application is processed and your credit report is accessed — this creates a record on your credit profile. Submitting multiple applications to different lenders simultaneously generates multiple enquiries and can temporarily lower your score.
Step 6: Wait for the Decision (Usually Under 24 Hours)
For fully digital applications with all documents submitted, most lenders provide an in-principle decision within minutes to a few hours. A final, binding offer may take up to 24 hours while income verification is completed.
If approved, you will receive:
- A pre-agreement statement and quotation — read this carefully. It shows the interest rate, all fees, the monthly repayment, and the total cost of credit. You are under no obligation to accept at this stage.
- The full credit agreement — this is the binding contract. Only sign it once you are satisfied with the terms.
You have the right to take time to read both documents. A lender who pressures you to sign immediately is behaving improperly.
Step 7: Authenticate the DebiCheck Mandate
Once you sign the agreement, your lender will submit a DebiCheck mandate to your bank. You will receive a notification — via your banking app, USSD, or SMS — asking you to authenticate the debit order.
This is a mandatory step introduced by the South African banking system to prevent unauthorised debit order collections. You need to confirm the amount, date, and frequency shown match what you agreed to in your loan contract.
Authenticate promptly — most lenders require this within 24 to 48 hours before they will disburse funds. If you miss the window, contact your lender to request a re-send.
Step 8: Receive Your Funds
Once the agreement is signed and the DebiCheck mandate is authenticated, funds are typically deposited into your account within 24 to 48 hours. For some lenders — particularly digital-first ones — this can happen on the same business day.
Funds arrive via EFT directly into the bank account you provided. You will not receive cash, a cheque, or a voucher. If a lender offers to pay you in any form other than a bank transfer into your own account, treat this as a serious red flag.
Common Reasons Applications Get Declined — and What To Do
Credit score too low — check your credit report for errors that may be dragging your score down. Dispute any incorrect listings through the relevant credit bureau. If the score is accurate, consider a smaller loan amount or a lender with more flexible criteria.
Affordability fails — your existing debt repayments already consume too large a share of your income. You may need to reduce the loan amount or term, or first pay down existing debt before applying.
Adverse listings — judgements, defaults, or arrears on your credit record. Some lenders will still consider you; others will not. Specialist lenders and micro-lenders typically have more flexibility here.
Income cannot be verified — bank statements that show irregular deposits or do not match the income declared on the application. Ensure your bank statements clearly show regular salary credits and match what you stated.
Being declined does not mean you cannot get credit anywhere. Different lenders use different scoring models and appetite for risk. But do not apply to five lenders simultaneously after a decline — space applications by at least 90 days where possible to protect your credit profile.
The Whole Process, Summarised
- Gather: ID, payslips or bank statements, active bank account
- Check: your credit score before applying
- Decide: the exact amount and term you need — independently, before the lender suggests a number
- Choose: a registered lender that fits your profile and loan size
- Apply: online, accurately, with correct documents
- Review: the pre-agreement statement and credit agreement before signing
- Authenticate: the DebiCheck mandate promptly
- Receive: funds within 24 to 48 hours
That is the whole process. Eight steps, most of which take under two minutes each. The part that takes longest — waiting for the decision — happens without any input from you at all.
The biggest mistake most first-time applicants make is not the application itself — it is not preparing beforehand. Know your credit score, know the number you need, and have your documents ready. Everything else follows from that.